It’s Time for Daylight Savings!

It’s time for daylights savings, and accordingly the sun will rise and set earlier. Correspondingly, the shortened evenings can be a real bummer. This is a great time for some home maintenance. After manually changing your clocks, take care of a few other essential tasks.
- Put Fresh Batteries in Smoke Alarms/Detectors
For personal safety, verify your smoke alarms/detectors are working, & give them a fresh set of batteries. Replace expired/outdated smoke alarms/detectors. - Reverse & Clean Ceiling Fans
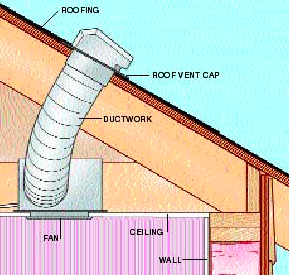
To save on heating costs, clean the fan blades, & flip the switch on the side to reverse the blades. In the summer, you want the fan’s blade to spin counter-clockwise, which pushes air down. In the winter, it’s better for your fan to spin clockwise, which will pull the cold air up. - Service the Heating System & Replace Air Filters
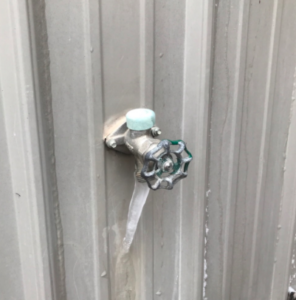
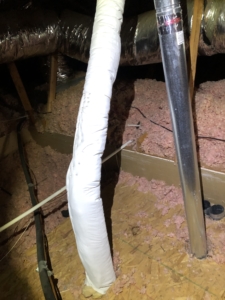
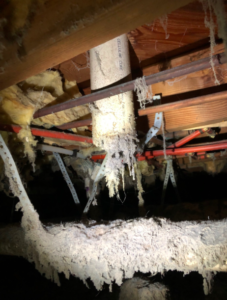
To verify proper safety & functionality, prevent costly repairs, & extend the life of the heating system, have a licensed HVAC professional service it & replace the air filters. Check air filters monthly, & replace them when they are dirty. - Clean the Gutters
In order to avoid costly repair bills, clean debris from gutters, or hire someone else to do so. Generally, cleaning gutters now will be much easier than if you wait until winter to do so. - Restock Your Emergency Kit
Always be prepared with an emergency kit stocked with non-perishable food, water, important docs, and first-aid supplies in the event of an earthquake, tornado, hurricane, or some other disaster. Replace any outdated items.
Let us know if you have any questions; we’re here for you!
Scott Price & The All Star Team
Home Run Inspections, LLC
Licensed, Insured, Certified, Professional, Master Inspectors
OK (405) 905-9175 * FL (850) 203-3239
www.HomeRunInspections.Com – – Schedule Inspections Online 24/7!
We Cover All the BasesServing the Oklahoma City metro and surrounding areas including Edmond, Yukon, Norman, Bethany, El Reno, Tuttle, Mustang, Moore, Piedmont, Midwest City, Del City, Choctaw, McCloud, Shawnee, Harrah, Newalla, Jones, and more.
Schedule Your Inspections Online at:
Like us on FaceBook
Follow us on Twitter
Follow us on Instagram
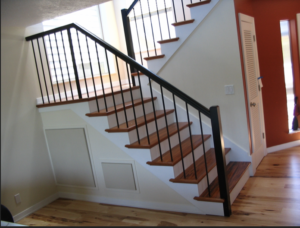 Stairs Maintenance
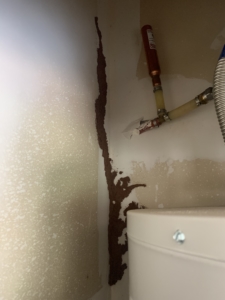
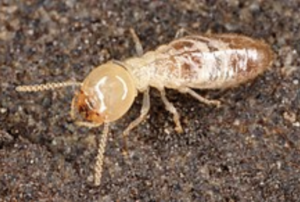 Subterranean termites are the most damaging insects of wood. Their presence is often hard to notice, and damage usually is found before the termites are seen. You should take measures to prevent infestations, which may require hiring a pest-control service.

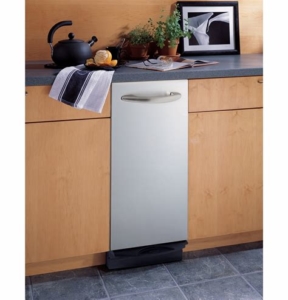


 How Does a Dishwasher Work?